In the PRIZ Innovation Platform, everything we do is organized as a project. This approach applies to both complex, long-running endeavors and small decision-making tasks. We believe structuring work as projects is the most effective method. Consider this: even choosing a paint color for your walls can be viewed as a small project. By treating it as such, we ensure its completion and can celebrate even the smallest achievements.
In this document, we’ll guide you through the project creation process with the help of PRIZ Assistant, your companion throughout the entire journey.
Sign Up & Login
This document assumes you have already registered and logged in. If you need help with registration or authentication, please refer to our Sign Up & Login Instructions.
Starting the Process
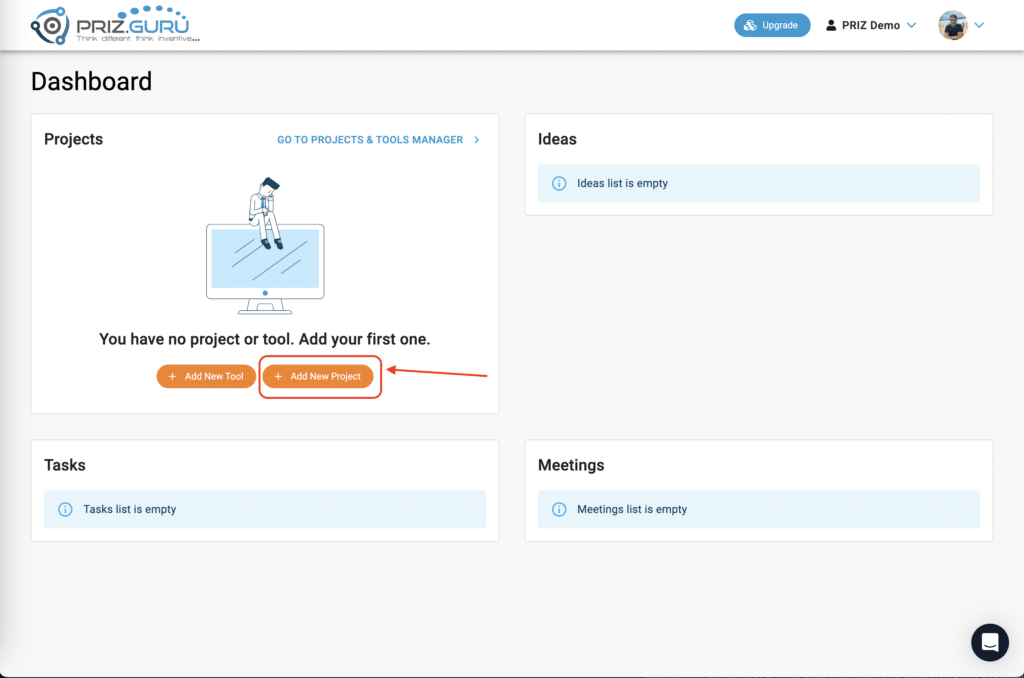
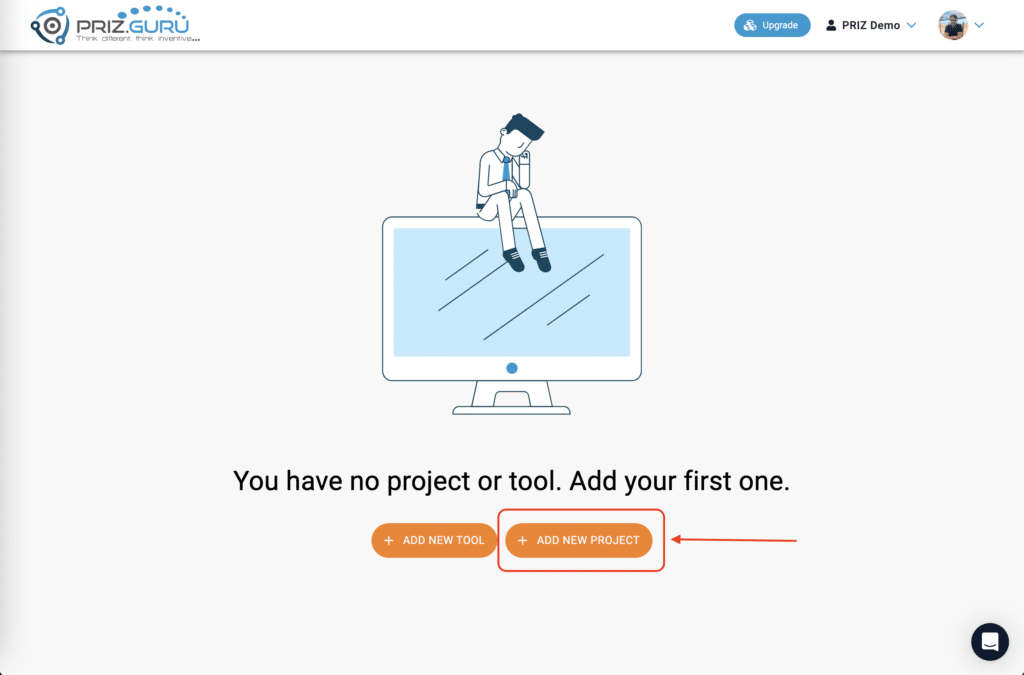
You can start the project creation process from several places. If you don’t have any projects or have deleted all existing ones, the “Add New Project” buttons will be available in the dashboard’s ‘Projects’ widget and in the middle of an empty Project Listing page.
When you have at least one project in your workspace, the “Add New Project” button will be visible at the top of the project list on the Project Listing page.
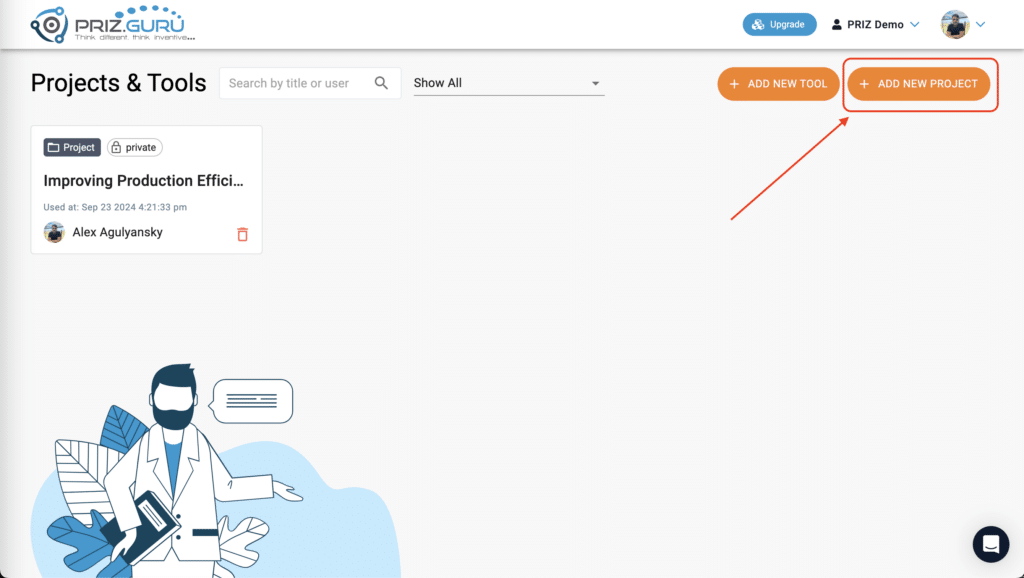
To begin the process, simply click the + Add New Project button. This action will launch a guided process consisting of five steps:
- Industry selection
- Department selection
- Goal selection
- Challenge definition
- Project title
It’s important to understand that all this information serves two main purposes:
- It helps you grasp the full context of the challenge you’re working on and focuses you on the right problem space.
- PRIZ AI Assistant uses this information to provide all necessary help throughout the rest of the project.
Industry selection
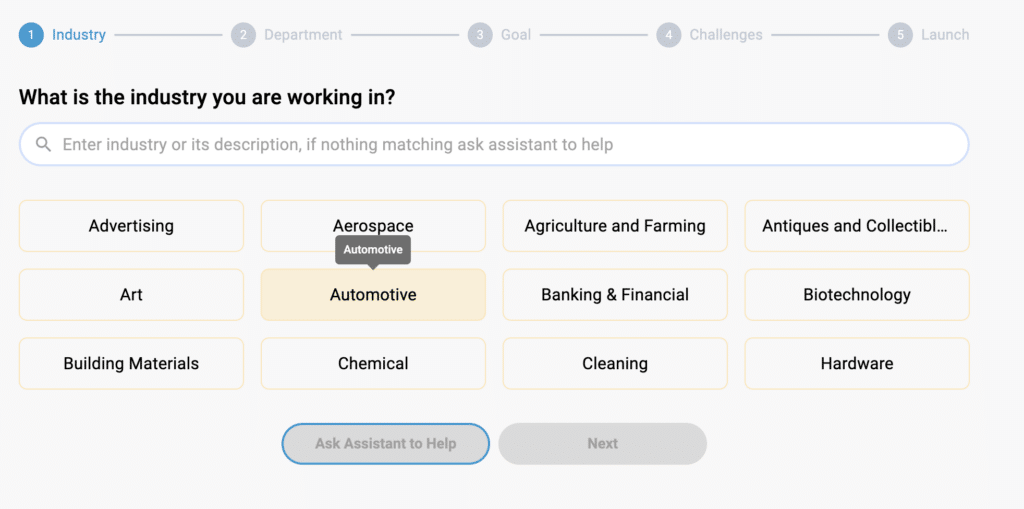
The first step in the process is selecting the industry related to your project.
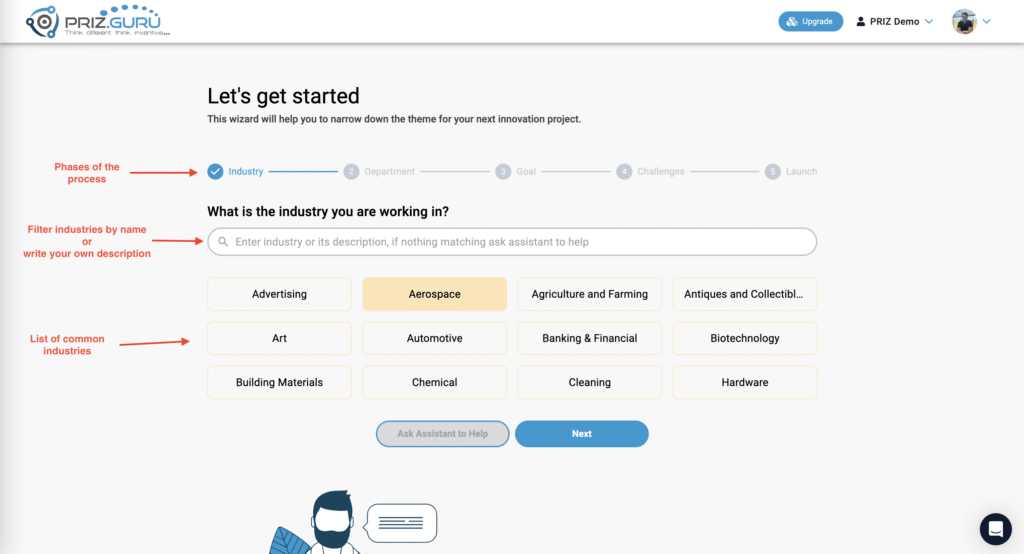
This interface presents a list of commonly used industries and allows you to search for industries by name.
If you can’t find your specific industry, simply type a description of what your industry does in the search box.
Next, click Ask Assistant to Help. The assistant will analyze your description and suggest a few matching industry options.
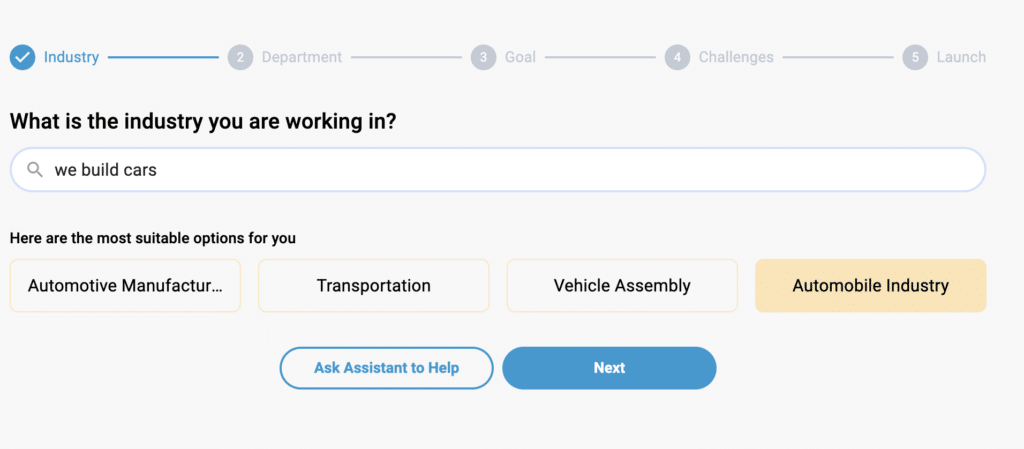
Choose the option that best fits your needs and click Next.
Department selection
Similar to the industry selection, in this phase you are able to select a department out of the commonly used departments, or type a description in your own words and ask the assistant to help.
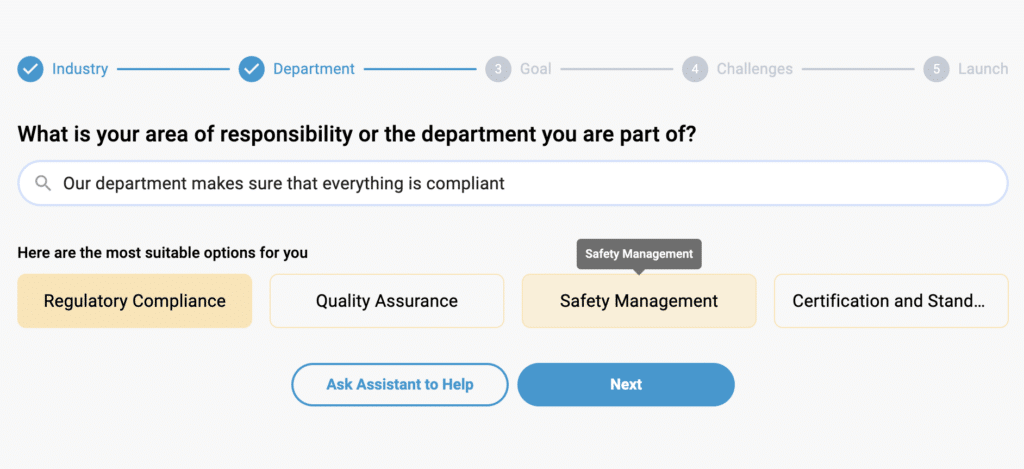
Choose the option that best fits your department and click Next
Goal selection
The project goal shouldn’t be confused with the challenge description. It represents your current understanding of the project’s overall high-level objectives. Managers or teams often define these goals. The interface offers several common goal examples, and you’re welcome to choose one from this list.
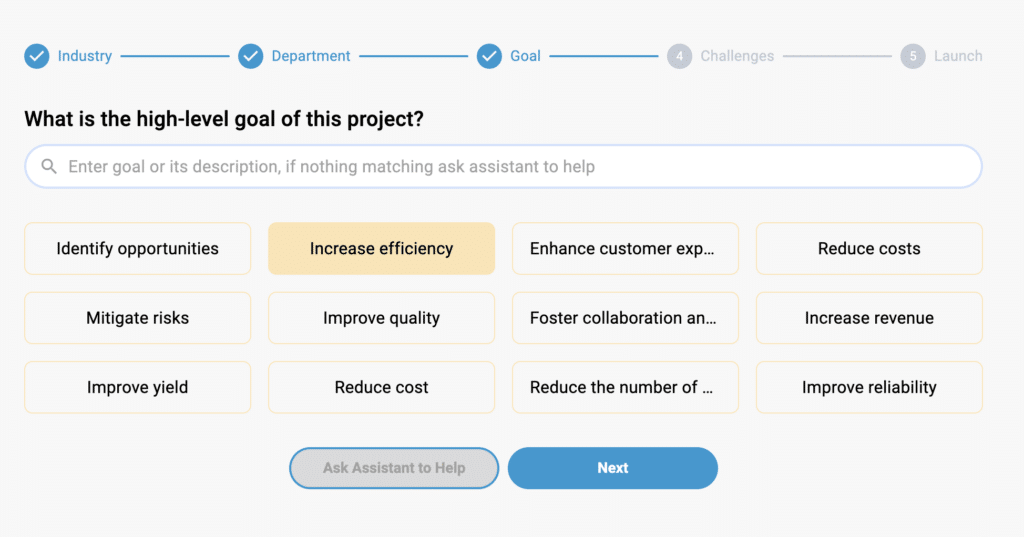
Alternatively, you can describe your goal in your own words and ask the assistant for help. This process follows the same concept as in the previous sections.
Choose the option that best fits your goals and click Next
Challenge definition
Defining the challenge correctly is a challenge in itself, and this step is only the first half of it. The challenge description is extremely important, as it will eventually kickstart and drive the entire initiative—from problem space to problem statement, through analysis, and all the way to solution generation.
The platform offers a few examples that can be used as this brief challenge description.
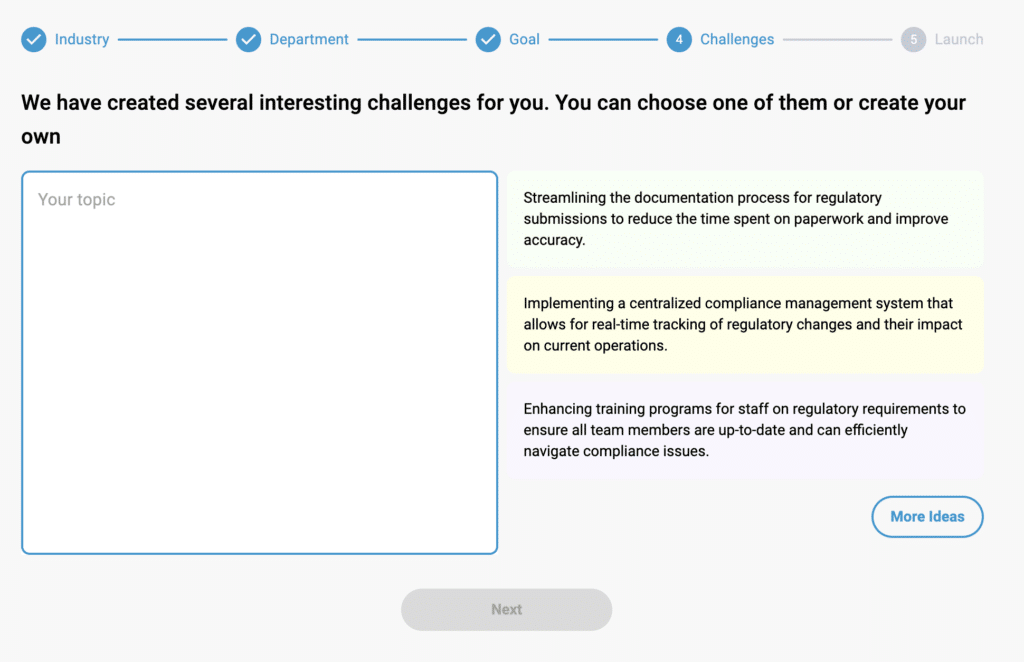
Ideally, you should write your own description of the challenge. Don’t worry about perfecting it—a high-level overview is sufficient, as you’ll be able to update it later in the project overview.
Once you’re ready, click Next. At this point, the platform will verify that the description contains meaningful content.
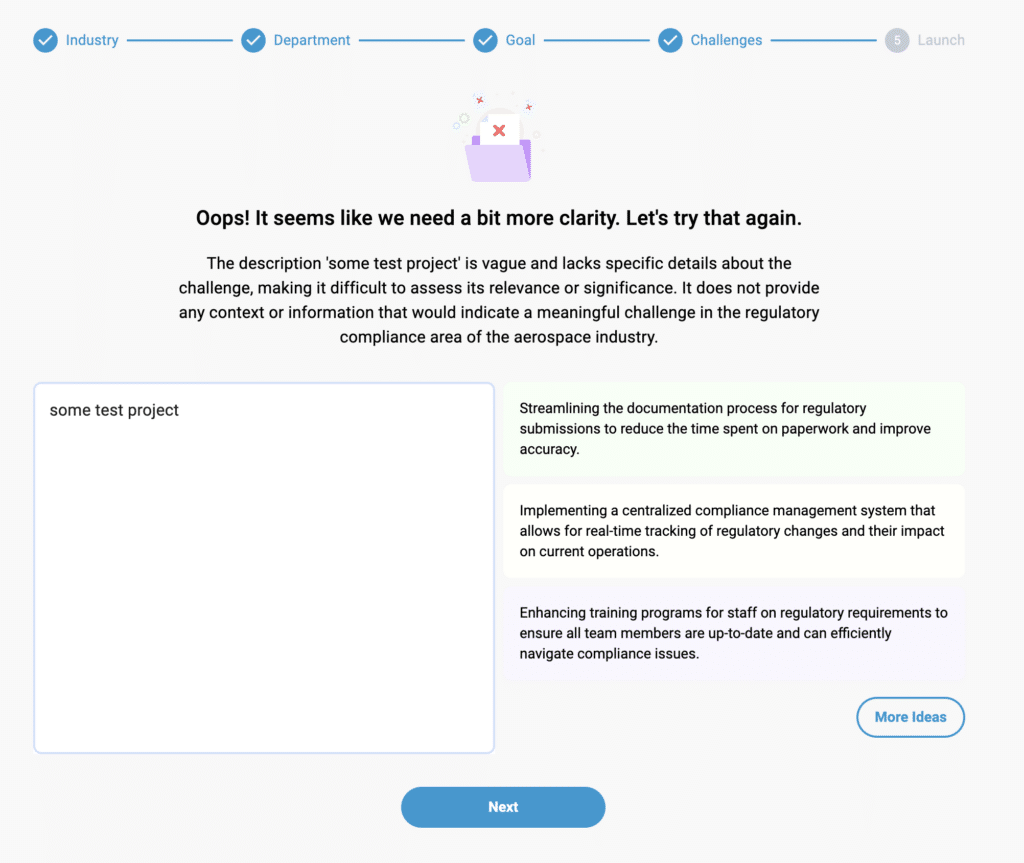
We implement this verification to discourage users from creating projects with meaningless “test” content and to encourage work on real challenges. This approach aligns with our philosophy for training sessions as well.
- Note: We’re not concerned with the specific nature of the challenge; our focus is on ensuring the text is meaningful and purposeful.
Project title
After the description passes validation, the final step is to give your project a name.
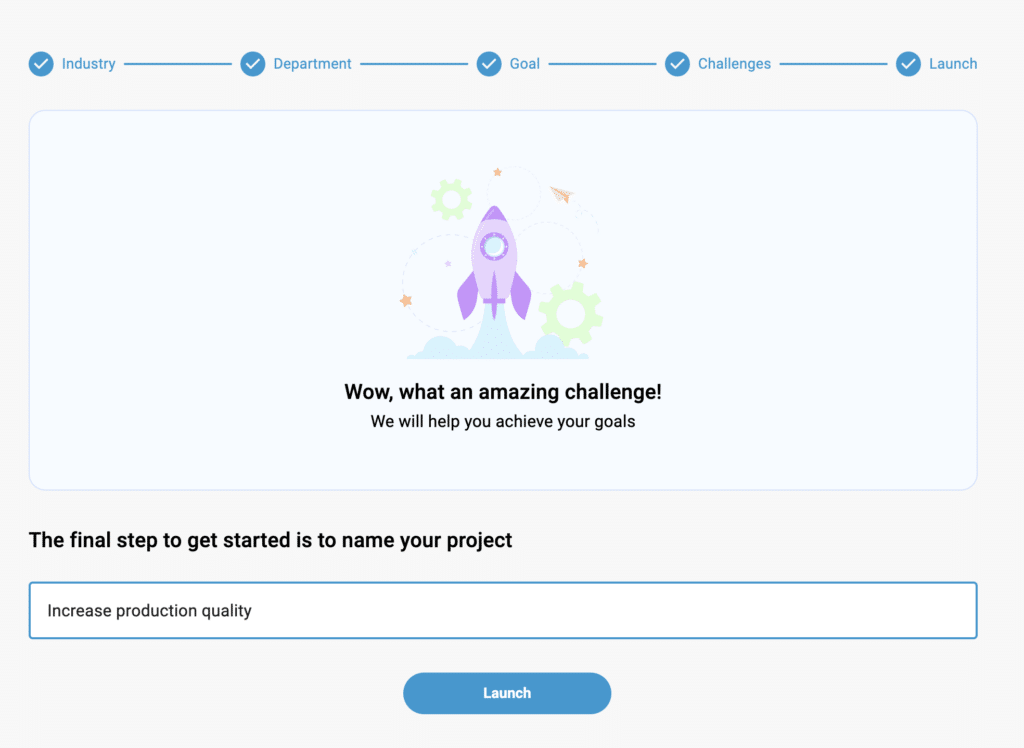
You are welcome to provide any title that makes it easier for you to navigate your projects and quickly find the one you need.
Type in the title and click Launch. You will be navigated to the project overview page of the new project to start your journey.
That’s it! I hope it’s clear and easy.
P.S. Please, let us know if you require any assistance.